info@qc-labs.co.uk
Laboratory equipment for Viscosity Measurement

Paint Inspection Gauge

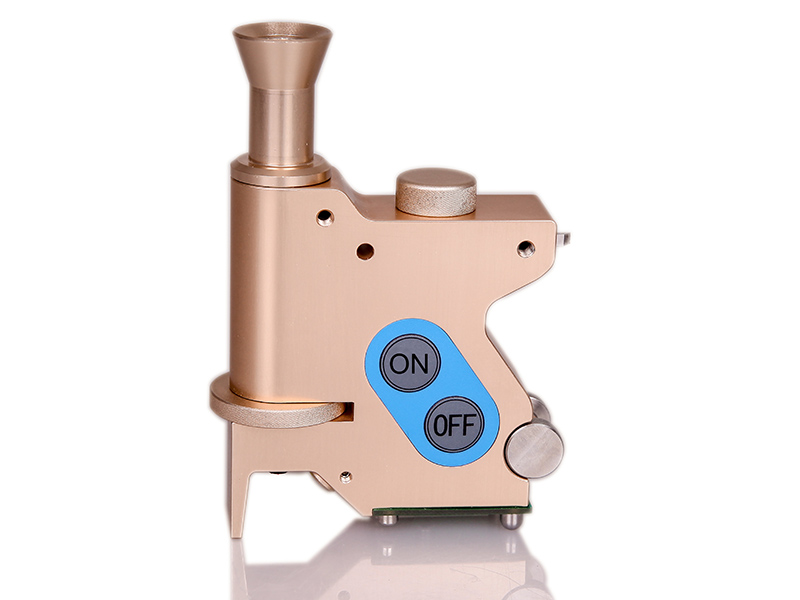
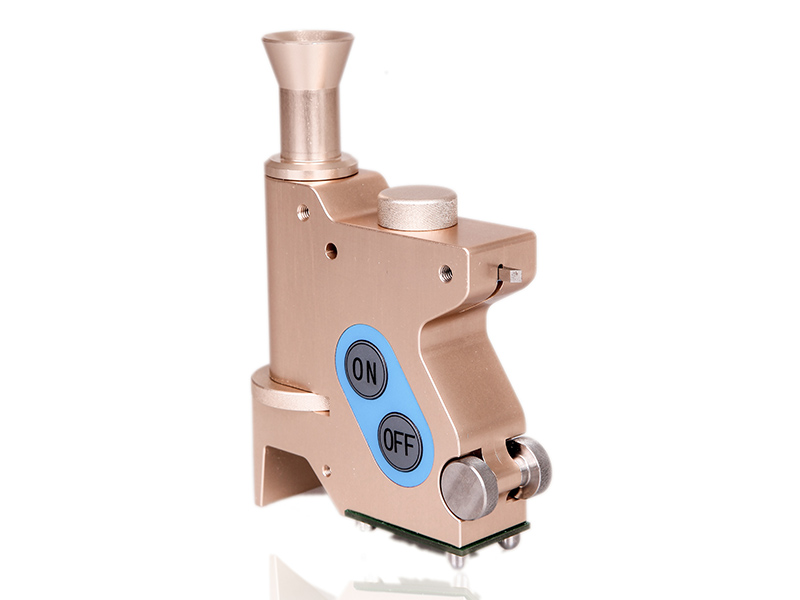
Introduction: BEVS1707 PIG is using destructive method to measure coating thickness, containing single and multiple coats, applied on all of substrates, e.g.:aluminum, iron, plastic, wood, concrete, glass etc.

Category:
Description

Introduction: 

BEVS1707 PIG is using destructive method to measure coating thickness, containing single and multiple coats, applied on all of substrates, e.g.:aluminum, iron, plastic, wood, concrete, glass etc.

Using Principle:

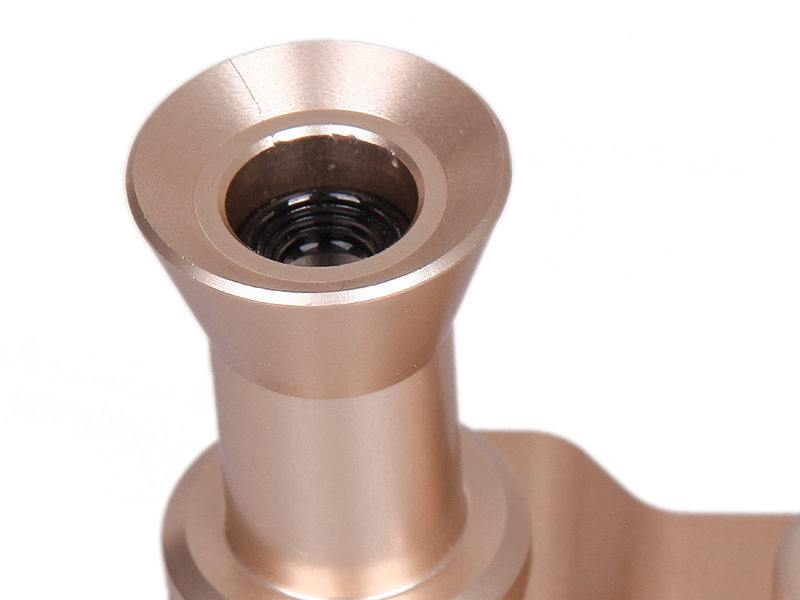
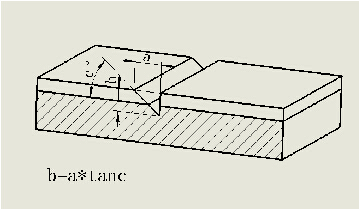
A cut is made on the test surface with a V-shaped tool.The coating thickness can be measured with the built-in microscope underthe LED light.

Standard:

ASTM D4138, DIN 50986, ISO 2808

Technical Specification:

Cutter Cut Angle Range(μm) D Factor(μm)
No.1 45° 20-1800 20
No.2 63.4° 10-900 10
No.3 84.3° 2-180 2


Measurement Principle:

Operating Steps:

Step Illustration Description
1     Prepare the inspecting area
2    Draw a line with the marker pen on the surface
3     Cut the coating vertically and make sure it is lacerated
4     Read the graduation-scale with the microscope to attain thickness


Order Information:

BEVS 1707 Paint Inspection Gauge, including 1 pc of No.1 cutter, battery, marker pen and carrying case

Accessories:

BEVS 1707 PIG/1             Cutter No.1
BEVS 1707 PIG/2             Cutter No.2
BEVS 1707 PIG/3             Cutter No.3